|
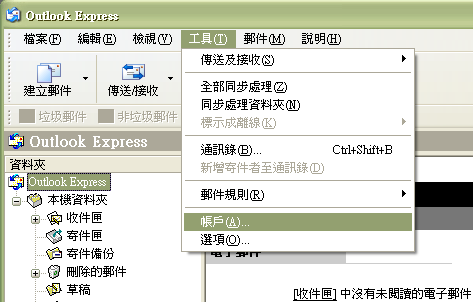
2. 按下主選單上的"工具", 選擇 "帳戶"
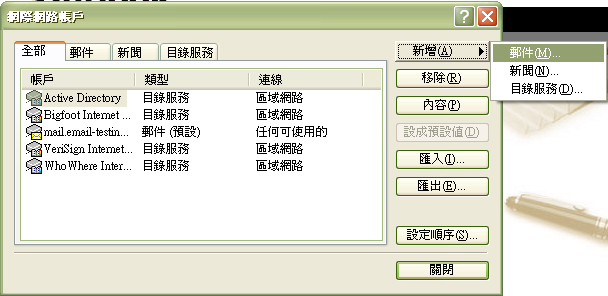
3. 在"網際網路設定"按下"新增" -> "郵件"
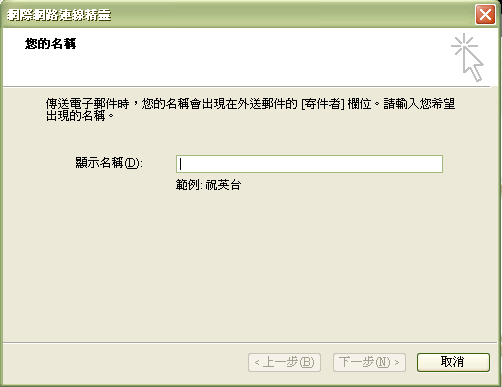
4. 輸入"顯示名稱" ,再按下"下一步"
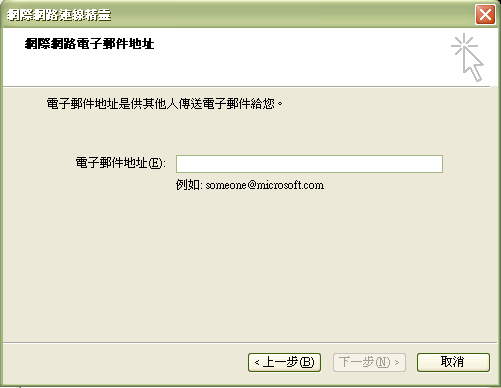
5. 輸入"電子郵件地址" ,再按下"下一步"
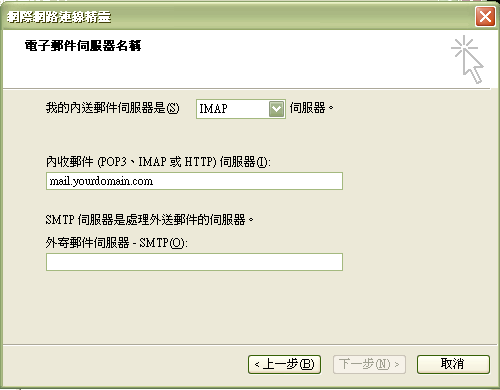
6. 輸入資料後 ,按下"下一步"
伺服器資訊 |
帳戶類型: |
IMAP |
內送郵件伺服器: |
如: mail.你的域名.com |
外寄郵件伺服器: |
客戶可使用你的網絡供應商(ISP)提供的SMTP:
網上行 (smtp.netvigator.com)
商業網上行 (corpmail1.netvigator.com)
香港有線寬頻 (smtp.i-cable.com)
和記網 (smtp.hutchcity.com)
香港寬頻 (smtp.hkbn.net)
HKNet (smtp.hknet.com)
PacificNet (smtp.pacific.net.hk)
( 如已申請我們的SMTP/ SMTP1025服務,請輸入我們提供的SMTP伺服器名稱) |
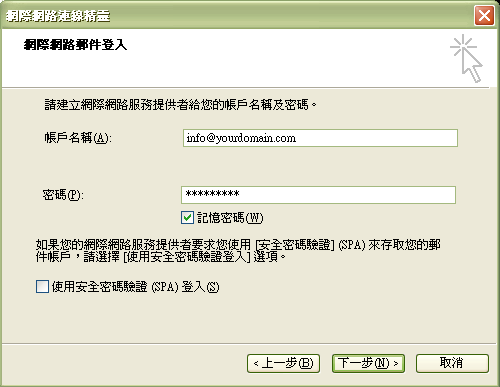
7. 輸入資料:
登入資訊 |
使用者名稱: |
整個電郵地址 |
密碼: |
電子郵件戶口的密碼 |
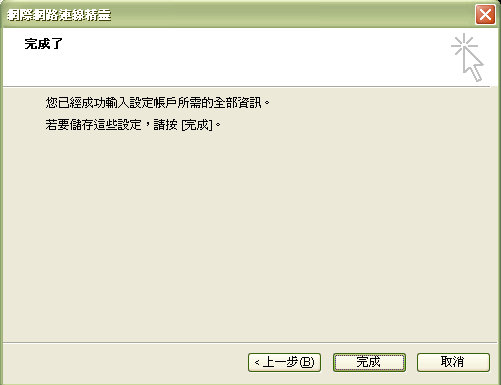
8.最後,按"完成”即可
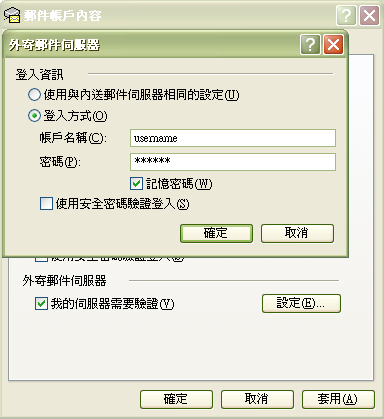
9. 如你的網絡供應商提供的SMTP需要驗證或已申請我們SMTP服務的客戶需按下 "帳戶" -> "內容" -> "伺服器", 剔選"我的伺服器需要驗證",再按 "設定"
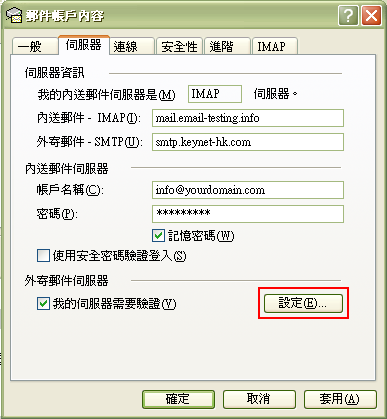
10. 選擇"登入方式"並輸入網絡供應商提供的用戶名稱及密碼,並輸入網絡供應商提供的用戶名稱及密碼
(已申請SMTP 1025服務的客戶,請輸入我們提供的帳戶名稱及密碼)
如何使用SMTP 1025 / 2025 的功能?
可按此 |